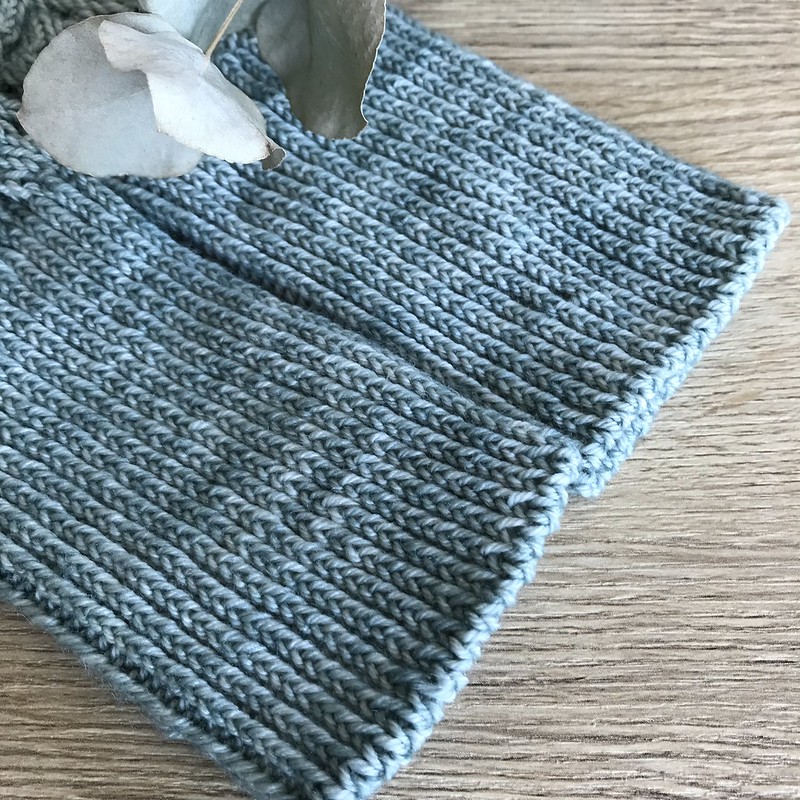
I’ve been a long time fan for twisted rib. I prefer it simply because it
gives a nice and stretchy, yet a firm edge for knits. And in my opinion a
twisted rib recovers best its original shape after stretching.
Twisted rib with K1tbl, P1tbl sts:
Twisted rib in a yarn with a tight spin might not feel as nice against
your skin as in a yarn with a looser spin. To avoid this kind of uncomfortable
detail I usually knit twisted rib for sock and sleeve cuffs, that comes tight
against your sensitive skin, with a “twist”: on RS rep *K1tbl, P1* and on WS
rep *K1, P1tbl*:
This way stitches on WS are a bit softer and smoother against the skin.
There is at least few ways of making one stitch when adding stitches in
a knit (like knitting in the stitch below and knitting a stitch from front and
back etc.), but my favorites are:
M1R (make one right)
Pick up yarn from behind between sts to left hand needle and K through
front loop. This makes a right leaning stitch.
M1L (make one left)
Pick up yarn from front between sts to left hand needle and K through
back loop. This makes a left leaning stitch.
I like the look of these techniques; how the stitches smoothly blend to
the knitted surface and how they are easily spotted if you’re in need of
counting the added stitches for example. These leaning stitches also gives you
a chance to play with the structure of the stitches:
In this picture above I’ve worked “K until SM, M1L, sm, K to EOR” and in
the picture below I’ve worked “K until SM, sm, M1L and K to EOR”.
My favorite is definitely the latter one. In my eyes it’s a teeny tiny
bit of neater outcome.
I’ve been testing all kinds of knitting techniques
during the years. And I love to test new ones in search of the perfect ones for
me and my designs. Though I have already found some of my absolute favorites…
that I will share with you in some upcoming blog posts.
The first technique I’m sharing with you is my
favorite when casting on toe up socks:
Figure 8 Cast On
The CO is made with circular needles holding
them parallel and wrapping the yarn in figure 8 around the needles. Leaving a
short tail of the yarn wrap it around the upper needle and work the yarn
alternately around and between the needles. Continue wrapping a figure 8 around
the needles until you have the desired number of sts, ending with a bottom
loop. You’ll now have an equal number of sts on both needles. The CO is ready
only after working once the sts on the 2nd needle: rotate the needles so you’re
holding them with your left hand and pull the bottom needle through the sts so
that they’re on the cable. With the right hand needle K the first st of left hand
needle and K the following sts tbl. Now the CO is ready.
My favorite
BO has been for quite some time already Tubular BO. Definitely my “go to” when
working with 1 x 1 ribbing. I favor it because it makes a firm, yet a really
stretchy edge.
For making
a Tubular BO I reserve a yarn tail that is at least 2.5 times the length of the
stretched edge. Usually I reserve 3 times the length to be absolutely sure I
have enough yarn for the BO.
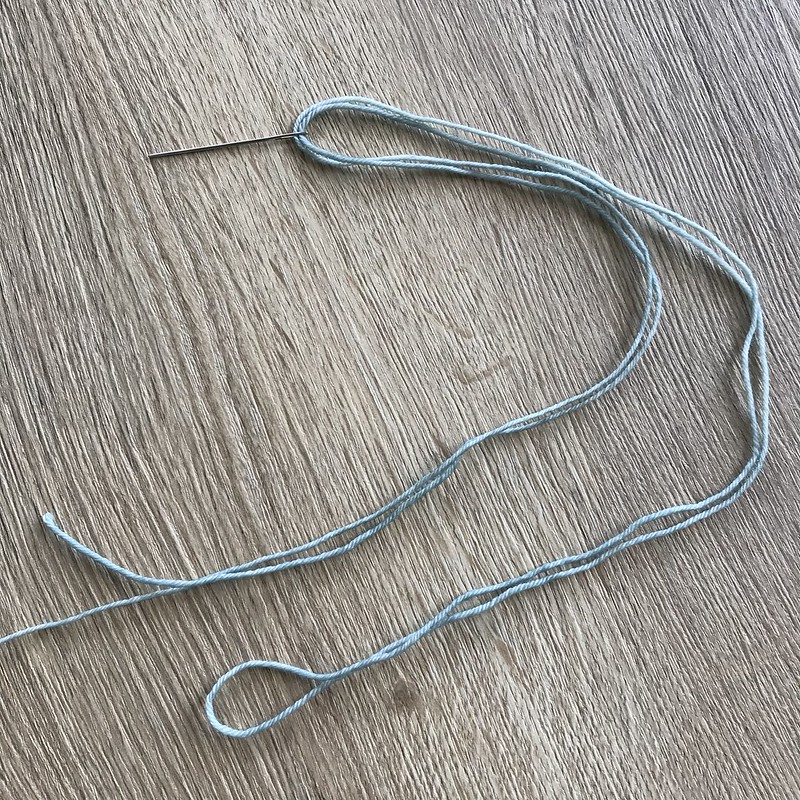
Because the
yarn tail is long and gets easily tangled, I thread it in double through the
needle. Now the tail is a bit easier to manage.
I always
start the Tubular BO on the RS of the work and with a K st. The first two sts
are set-up sts before starting with the actual BO repeat: thread the darning
needle through the first K st from back to front, bring then the needle between
K and P sts from back to front and then thread the needle through the first P
st from front to back.
Now the
first two sts are ready for the Tubular BO repeat:
1. Thread
the needle through first K st from front to back and sl st of the needle. Pass
by P st and cont to thread the needle on RS through the second K st from back
to front. Tighten the yarn.
2. Tread the
needle through first P st from back to front and sl st from the needle. Pass by
K st and cont to thread the needle from BS between K and P st to the front and
then through the second P st from front to back. Tighten the yarn.
It takes a
while to learn this BO, but I’ve gotten help from a simple “mantra”: thread K sts
from front to back and again from back to front, and thread P sts from back to
front and again from front to back.
To make a
neat ending for in the round ribbing, BO the last two sts as follows: thread
the needle through the last K st on the needle from front to back and sl st of
the needle. Pass by the last P st and thread the needle on RS through the next
K st (the first K st where the whole BO rnd started) from back to front. Thread
the needle through the last P st on the needle from back to front and sl st
from the needle. Pass by previous K st and thread needle through the next P st
(the first P sts where the whole BO rnd started) from front to back.
Weave in
end on WS of the work.
The ribbing
edge is now really stretchy, yet firm and looks neat:
I've gotten
request about if it's okay to make Viisukat with other countries flags. Of
course it is. Rainbow socks for everyone!
Now I've
added a separate file of 23 flags of some other countries that are also
participating Eurovision Song Contest 2019. In alphabetical order: Armenia, Austria, Belgium, Czech Republic,
Denmark, Estonia, France, Georgia, Germany, Greece, Hungary, Iceland, Ireland,
Italy, Latvia, Lithuania, Netherlands, Norway, Poland, Romania, Russia, Sweden
and Switzerland.
Viisukat Extra Charts can be downloaded alongside with
Viisukat from my Ravelry pattern store here!
I've made my Viisukat socks with Filcolana Arwetta Classic.
The yarn is really durable and it has lasted out to over 3 pairs in adult sizes!
For the 4th pair I finally had to start a couple of new skeins. For just one
pair you'll need about 40 meters of the 5 contrasting colours, so not that
much. So I managed to stretch out the yarns by changing main colour. So far
I've always used a new rainbow colour as main colour.
If you're not interested in making a whole bunch of
rainbow sock, but just one pair, you can by a Viisukat yarn kit from Ilo! The
yarn kit is handdyed by Ullrike by Anki and contains just the amount to make
one pair of Viisukat socks. The kit is so cute:
I would really appreciate if you would tag your
Viisukat socks when publishing on social media with one of the following tags: